🚀 Tired of setting up projects from scratch and copying and pasting the same CI/CD workflow files over and over? No more rework! In this post, we’ll solve this problem once and for all using GitHub Template Repositories.
The Problem: Constant Rework
Every time you start a new project, you need to:
- ✅ Create the repository
- ✅ Configure
.gitignore - ✅ Add standard
README.md - ✅ Set up CI/CD workflows
- ✅ Copy linter configurations (ESLint, Prettier, etc.)
- ✅ Configure directory structure
- ✅ Add license files
- ✅ Configure issue templates
- ✅ Configure pull request templates
- ✅ And much more…
If you have 10 microservices to create, that means repeating this process 10 times. And if you need to update something? Good luck manually updating 10 repositories!
The Real Cost
Let’s do the math:
- Time per initial setup: ~30-60 minutes
- 10 repositories: 5-10 hours of repetitive work
- Future updates: Multiply this time whenever something changes
This is time you should be using to create value, not copying files.
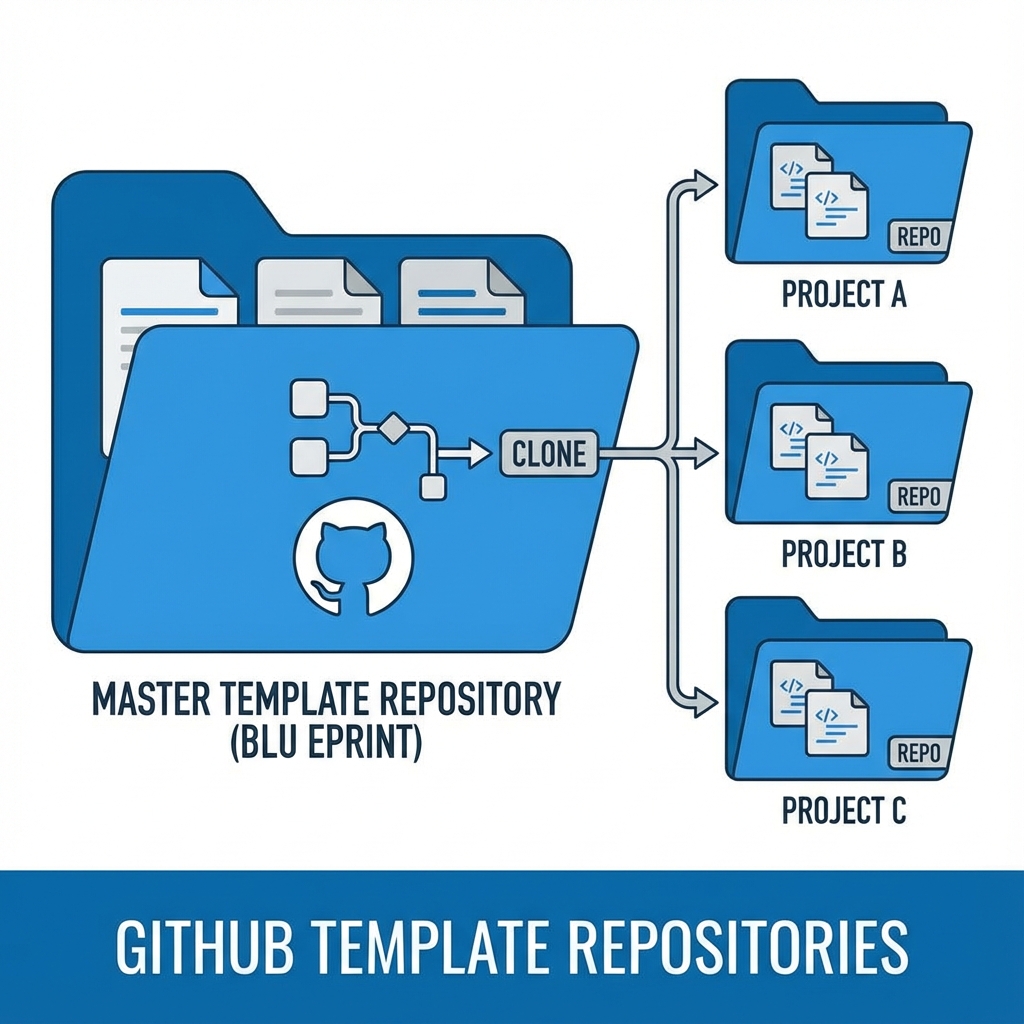
The Solution: GitHub Template Repositories
Template Repositories are a native GitHub feature that allows you to create a “mold” for new projects. With one click, you can generate a new repository with all the structure, configurations, and files ready to go.
Main Benefits
✅ Brutal time savings - From 1 hour to 30 seconds in project creation
✅ Guaranteed consistency - All projects follow the same standards
✅ Faster onboarding - New developers start with familiar structure
✅ Centralized maintenance - Update the template and new projects start already updated
✅ Built-in best practices - Force good practices from the first commit
How to Create a Template Repository
Step 1: Create the Base Repository
First, create a normal repository with all the structure you want to replicate:
my-node-template/
├── .github/
│   ├── workflows/
│   │   ├── ci.yml
│   │   ├── deploy.yml
│   │   └── security-scan.yml
│   ├── ISSUE_TEMPLATE/
│   │   ├── bug_report.md
│   │   └── feature_request.md
│   └── pull_request_template.md
├── .vscode/
│   ├── settings.json
│   └── extensions.json
├── src/
│   ├── index.js
│   └── __tests__/
│       └── index.test.js
├── .gitignore
├── .eslintrc.js
├── .prettierrc
├── jest.config.js
├── package.json
├── README.md
├── LICENSE
└── CONTRIBUTING.mdStep 2: Make the Repository a Template
- Go to repository Settings
- In the General section, check Template repository
- Save changes
Done! Now your repository is a template.
Step 3: Use the Template
To create a new project from the template:
- Go to the template repository
- Click Use this template → Create a new repository
- Define the name and settings of the new repo
- Click Create repository
In seconds, you have a new repository with the entire structure!
Examples of Useful Templates
1. Node.js API Template
node-api-template/
├── .github/workflows/
│   └── ci.yml              # Lint, test, build
├── src/
│   ├── controllers/
│   ├── models/
│   ├── routes/
│   ├── middleware/
│   └── index.js
├── tests/
├── .env.example
├── .eslintrc.js
├── .prettierrc
├── jest.config.js
├── Dockerfile
├── docker-compose.yml
└── README.mdIncluded CI/CD Workflow:
name: CI

on: [push, pull_request]

jobs:
  test:
    runs-on: ubuntu-latest
    steps:
      - uses: actions/checkout@v4
      - uses: actions/setup-node@v4
        with:
          node-version: '18'
      - run: npm ci
      - run: npm run lint
      - run: npm test
- run: npm run build2. Python Microservice Template
python-microservice-template/
├── .github/workflows/
│   ├── ci.yml
│   └── deploy.yml
├── app/
│   ├── __init__.py
│   ├── main.py
│   └── routers/
├── tests/
├── .flake8
├── .pylintrc
├── pytest.ini
├── requirements.txt
├── requirements-dev.txt
├── Dockerfile
└── README.md3. React Frontend Template
react-app-template/
├── .github/workflows/
│   └── ci.yml
├── public/
├── src/
│   ├── components/
│   ├── hooks/
│   ├── pages/
│   ├── services/
│   ├── utils/
│   └── App.jsx
├── .eslintrc.json
├── .prettierrc
├── vite.config.js
├── tsconfig.json
└── package.jsonTemplate vs Fork: What’s the Difference?
Many people confuse Template with Fork. Here’s the difference:
Fork
- Keeps complete Git history from original repository
- Connected to upstream - easy to sync changes
- Ideal for contributing to open-source projects
- Shows relationship with original repo on GitHub
Template
- Creates clean repository without template history
- Independent - no connection to original
- Ideal for starting new projects
- Doesn’t show relationship - treated as new project
Use Template when: You want to start a new project based on existing structure
Use Fork when: You want to contribute or keep synced with the original
Advanced Template Features
1. Dynamic Variables in README
You can use placeholders that users replace:
# {{PROJECT_NAME}}

## Description
This project is {{PROJECT_DESCRIPTION}}.

## Installation
\`\`\`bash
git clone https://github.com/{{USERNAME}}/{{REPO_NAME}}
cd {{REPO_NAME}}
npm install
\`\`\`2. Initialization Scripts
Include an init.sh script that sets up the project:
#!/bin/bash
# init.sh

echo "🚀 Setting up new project..."

# Request project name
read -p "Project name: " PROJECT_NAME

# Update package.json
sed -i "s/{{PROJECT_NAME}}/$PROJECT_NAME/g" package.json

# Generate .env from example
cp .env.example .env

# Install dependencies
npm install

# First commit
git add .
git commit -m "chore: initial commit from template"

echo "✅ Project $PROJECT_NAME successfully configured!"3. GitHub Actions for Validation
Include a workflow that validates initial setup:
name: Template Validation

on:
  push:
    branches: [main]

jobs:
  validate:
    runs-on: ubuntu-latest
    steps:
      - uses: actions/checkout@v4

      - name: Check for template placeholders
        run: |
          if grep -r "{{PROJECT_NAME}}" .; then
            echo "⚠️  Template placeholders still exist!"
            exit 1
          fi

      - name: Validate structure
        run: |
          required_files=".gitignore README.md package.json"
          for file in $required_files; do
            if [ ! -f "$file" ]; then
              echo "❌ Required file not found: $file"
              exit 1
            fi
doneBest Practices for Templates
1. Clear Documentation
Your README.md should explain:
- What the template includes
- How to use the template
- Which configurations need to be adjusted
- Next steps after creating the project
# Node.js API Template

## 📦 What's included

- ✅ Express.js configured
- ✅ Jest for testing
- ✅ ESLint + Prettier
- ✅ GitHub Actions CI/CD
- ✅ Docker + docker-compose
- ✅ Recommended directory structure

## 🚀 How to use

1. Click "Use this template"
2. Run `npm install`
3. Copy `.env.example` to `.env`
4. Customize configurations
5. Start developing!

## ⚙️ Required configurations

- [ ] Update project name in `package.json`
- [ ] Configure environment variables in `.env`
- [ ] Add secrets on GitHub (if using CI/CD)2. Keep Updated
Outdated templates are worse than no template:
# Create a workflow for dependabot
# .github/dependabot.yml
version: 2
updates:
  - package-ecosystem: "npm"
    directory: "/"
    schedule:
interval: "weekly"3. Multiple Templates per Stack
Organize templates by technology/purpose:
my-org-templates/
├── node-api-template/
├── python-ml-template/
├── react-spa-template/
├── nextjs-app-template/
├── docker-compose-template/
└── terraform-aws-template/4. Working Example Environment
The template should be functional out-of-the-box:
{
  "name": "example-project",
  "scripts": {
    "dev": "nodemon src/index.js",
    "test": "jest",
    "lint": "eslint .",
    "format": "prettier --write ."
  }
}After cloning, npm install && npm run dev should already work.
Combining Templates with Other Tools
Templates + Cookiecutter
For Python projects, combine with Cookiecutter:
cookiecutter gh:your-org/python-templateTemplates + Yeoman
For JavaScript, use Yeoman generators:
yo my-generatorTemplates + Terraform Modules
For infrastructure:
module "api_service" {
  source = "github.com/my-org/terraform-api-module"

  app_name    = "my-api"
  environment = "production"
}Real-World Use Cases
1. Consistent Microservices
Before:
- Each microservice had different structure
- Inconsistent CI/CD pipelines
- Hard for devs to switch between services
After (with template):
- All 30 microservices follow same pattern
- Identical CI/CD in all
- Any dev can contribute to any service
2. New Project Onboarding
Before: 3-4 days setting up new project
After: 30 minutes using template
3. Hackathons and Prototypes
Use templates to start fast:
- Template with ready authentication
- Template with basic dashboard
- Template with complete CRUD API
Limitations and Alternatives
Template Limitations
- Static snapshot - New projects don’t automatically receive template updates
- No synchronization - Template changes don’t propagate
- Manual customization - Still need to adjust some files
Alternatives
For keeping synchronized:
- Use Git subtrees or submodules for shared code
- Use Reusable Workflows (covered in previous post) for CI/CD
- Use npm packages for common code
For total automation:
- Cookiecutter (Python)
- Yeoman (JavaScript)
- Terraform (Infrastructure)
Conclusion: Less Setup, More Code
Template Repositories are one of GitHub’s most underestimated features. When well implemented, they:
- ⏰ Save hours of repetitive work
- 🎯 Guarantee consistency between projects
- 📚 Facilitate onboarding of new developers
- 🚀 Accelerate prototyping and experimentation
- ✅ Force best practices from the start
Implementation Checklist
- Identify common patterns in your projects
- Create template with base structure
- Add CI/CD workflows
- Configure linters and formatters
- Write clear documentation
- Test creating new projects
- Share with team
- Keep updated
Next Steps
In the next video/post, I’ll show:
- Advanced templates with automated initialization
- Cookiecutter templates for interactive customization
- Template + Terraform for infrastructure as code
- Template governance in organizations
Useful Resources
Already using template repositories? Share in the comments how you use them! What template would be most useful for you?
#GitHub #Template #Productivity #DevOps #BestPractices
Comments